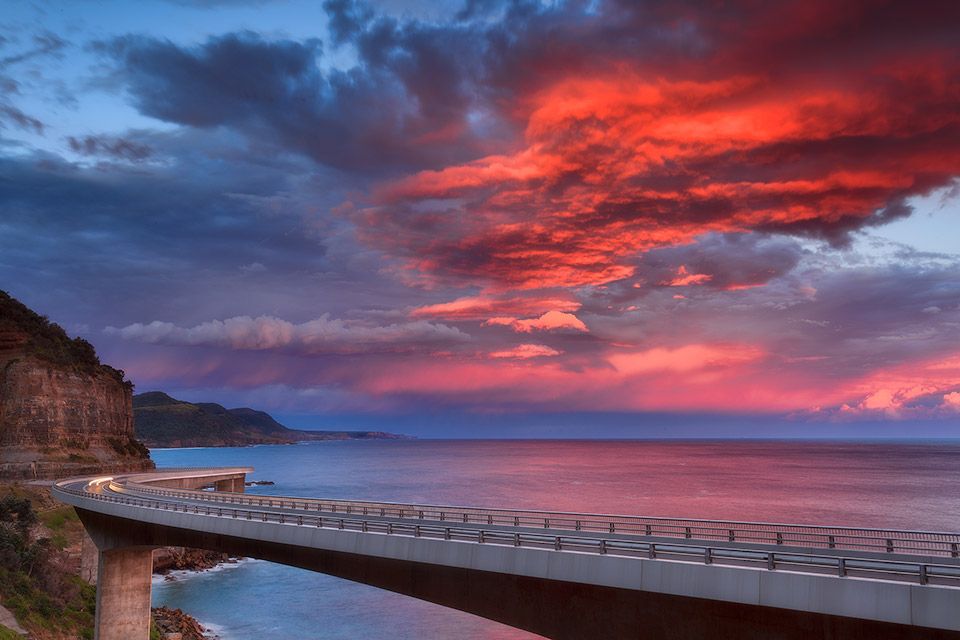
Here’s a photo I took one sunset a while back.
It’s rare because I don’t often shoot overlooking the ocean at sunset here on the east coast.
The thing is, when it’s raining all afternoon you actually see it and it tends to discourage you from shooting.
But those are the conditions most likely to produce a colourful sky like this when shooting away from the sun – which is what I have to do to shoot a seascape on the east coast at this time of day.
At least with sunrises, you just wake up and go. If the weather is crappy, it’s usually too late to do anything about it so you carry on and go through with the shoot anyway.
But I guess I got lucky this time and on the rare occasion I did follow through, it coincided with the one-in-ten chance of actually getting these conditions.
This image started as just one exposure.
The light, whilst quite colourful, was fairly even across the scene because the sun was behind me.
There were still some fairly dark shadows in the mountainside and under the bridge. Not enough to need a second exposure, but enough that I still had to do some selective shadow-only adjustments to bring them up a bit.
That’s all part of my standard workflow though.
Where it got interesting in Photoshop was in bringing the detail out in the clouds.
I can’t remember off the top of my head which video/course I showed the technique in (I’m sure I have shown it in multiple places) but it involves creating some High Pass layers in soft-light or overlay blend mode.
Then masking the effect into the clouds where you want the contrast effect applied.
It’s similar to the popular high pass filter sharpening technique, but with a larger pixel radius.
It works really well to make clouds pop like this.
OK I just realised that explanation might be a little vague! lol
Here’s how you’d do it:
1: Create a stamped layer on top of your other layers (cmd+opt+shift+E on mac, ctrl+alt+shift+e on PC)
2: Run the high pass filter between 5 and 50 pixels (test which works best)
3: Change layer to soft light or overlay blend mode
4: Add a black layer mask to the layer
5: Brush the contrast in with a white brush in the layer mask
Give it a try next time you want to make your clouds pop 🙂
Then to make all your shots pop all around, click here.
Talk soon,
Steve
FREE GUIDE: An Introduction To Luminosity Masking

Download the FREE PDF Guide Now so you can instantly see the difference that Luminosity Masking will make to your Landscape photos.
Just enter your FIRST NAME and your PRIMARY EMAIL Address below to subscribe to our emails so we can send you the download link: