How To Flip Part Of A Photo To Make A Better Composition
How many times have you taken a shot and had to simply make do with the composition you have “been given”?
Of course, we always want to try to get the best possible composition in-camera, but sometimes there are some things that we just can't control.
Like for example, the sky.
No matter where you point your camera, if the clouds are over here but they would look better over there, then there's not really much we can do about it.
And sometimes this can leave us with a lop-sided composition, or one that just doesn't work.
That's exactly what happened when I took this shot.
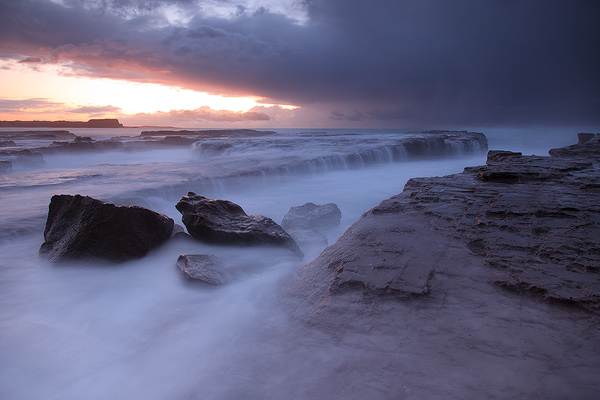
The stormy conditions, the hazy misty light, the sun poking through a gap in the clouds, an interesting foreground and background…
Everything was perfect – except for the fact the hole in the clouds where the sun came through was in totally the wrong place!
Notice in the image above, everything is happening on the left side of the frame.
The nice light off in the distance shining on the headland, the rocks in the channel in the foreground…
All on the left.
My vision for the shot was for the channel to lead ones eye through the frame, but the “best” light being over on the left side just drags the eye away from the channel and the composition just seems clunky.
Now… There IS a solution if you find yourself in this situation.
It just depends on how “creative” you will allow yourself to be in Photoshop!
I like to take creative liberties once in a while…
so here's what I did to fix the shot and create a better composition…
I copied and pasted the sky…
Then I flipped it on the horizontal axis…
Then I stretched it out a bit (simple transform tool in PS)
Then I blended it in and matched the light across the frame to make it all “fit”
And here was the result…
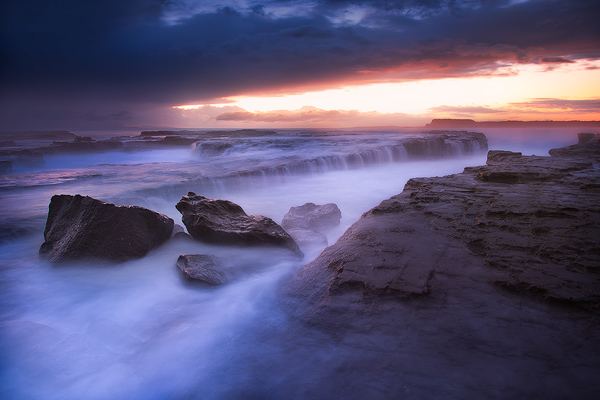
To my mind, this is a much better composition than the original shot.
Your eye can follow a diagonal line through the image starting bottom left and working it's way up towards the sky.
It kinda even follows a reverse Z shape if you spot that too, which is more interesting than a plain ‘ol straight line 🙂
And so next time you're flipping through your crop of images from your latest shoot and you're wishing that “this bit was just over there a bit”…
Or in an extreme case like this shot where flipping the sky just makes for a better and more balanced image…
That's what you can do – just flip it, or move things around!
But don't get this bit wrong…
In the example I've shown here, you can see that the light has very different properties and colours across the frame.
Golden yellow light in some parts, dark blue (almost black) light in other parts.
The one thing you really need to be careful of is matching the light up across the frame after you do something like flip the sky.
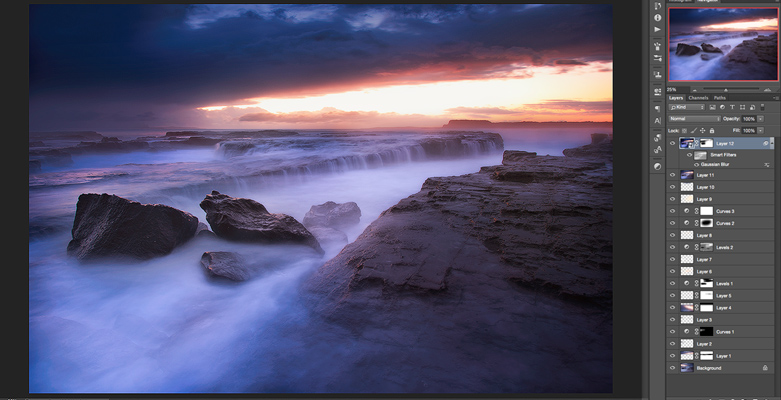
The “after” shot in my example above has been further processed after the initial “sky-flip”.
Just to give you an idea of the amount of blending and editing involved in this shot… Here's a screenshot of my layers!
Next Steps…
If you want some extra help and guidance on how to match the colour and brightness of the light in an image when flipping, or even replacing skies in a shot like this…
That's exactly what you can learn in my Creative Colour Compositing Class.
On top of what you get in the original version of the course, I've just updated it to include a new video showing how I edited this very shot from my example above.
So if you want to take a closer look and learn how to do some really awesome stuff with colour and light in your landscape images, including how to replace and blend skies (including this very one), then click here now to go pick up a copy of the course.
At the very least, you can go check out the “before and after shots” to see some of the kinds of transformations you can make once you decide to allow yourself a little bit of creative freedom 🙂
If any of this sounds interesting to you… Then you can read more by clicking the button below: