Cutting straight to the chase today…
(I did want to try and squeeze in a story about the euphoric Stone Roses concert I went to at the Sydney Opera House on Wednesday night, but I’m helping Sonia decorate the Christmas tree as soon as I’ve sent this email, so I’ll save the story for next time 🙂
Today I want to talk about a simple rule that has helped me create more natural-looking images since I discovered it.
It’s not exclusive to blending bracketed exposures, but it becomes extra-important when doing that.
When I first found out about bracketing and blending exposures, I thought it was so cool because I could make every pixel as bright and full of colour and detail as possible.
I’d bung a bunch of exposures into Photomatix, play around with the sliders and celebrate my overcooked HDR!
The problem was things that should have been dark were brighter than the bright things.
Everything was topsy turvy.
I didn’t know any better at the time though and I was taken in by the bright, colourful HDR images, the likes of which I’d never really seen before.
It’s easy to get swept away with a trend when it’s new and exciting, but it wasn’t long before I started gravitating towards a more natural look to my images.
After a while, I set a rule for myself which I always keep in mind whenever I process an image. That is to keep dark things dark and bright things bright as they relate to each other.
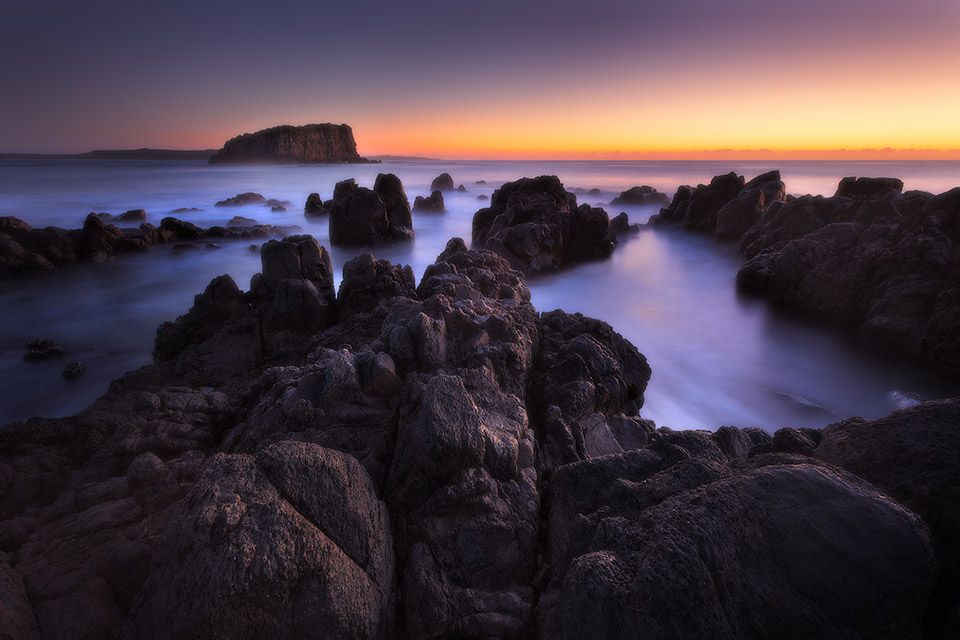
Now referring to the shot I’ve shared at the top…
The clear sky at dawn was SO bright in relation to the black rocks in the foreground.
In order to capture any colour at all in the sky, the rest of the shot had to be significantly underexposed.
Then to capture any detail in the rocks, I needed another shot or two which overexposed the sky completely.
In my early days, I would have blended that dark colourful sky with a foreground as bright and full of as much detail as possible.
And the result would have been a mushy mid-tone nightmare.
But these days, just keeping that simple rule in mind when processing the shot (to keep all elements the right brightness in relation to each other), this image has a much more natural and realistic look to it.
The end result is quite a dark image, but that’s ok. In order to see that deep yellow glow on the horizon, the rest of the shot should be significantly darker in relation to it.
Needless to say, I ditched any and all HDR plugins long ago in favour of manually blending exposures. I don’t think I’d be able to achieve the same results without taking total control over every pixel away from the plugins and into my own hands in Photoshop.
To see exactly how I do this, you can download my Luminosity Masking Mastery course with a whole bunch of extras here on this page for a limited time.
Click here to download it now.
Talk soon
Steve
FREE GUIDE: An Introduction To Luminosity Masking

Download the FREE PDF Guide Now so you can instantly see the difference that Luminosity Masking will make to your Landscape photos.
Just enter your FIRST NAME and your PRIMARY EMAIL Address below to subscribe to our emails so we can send you the download link: