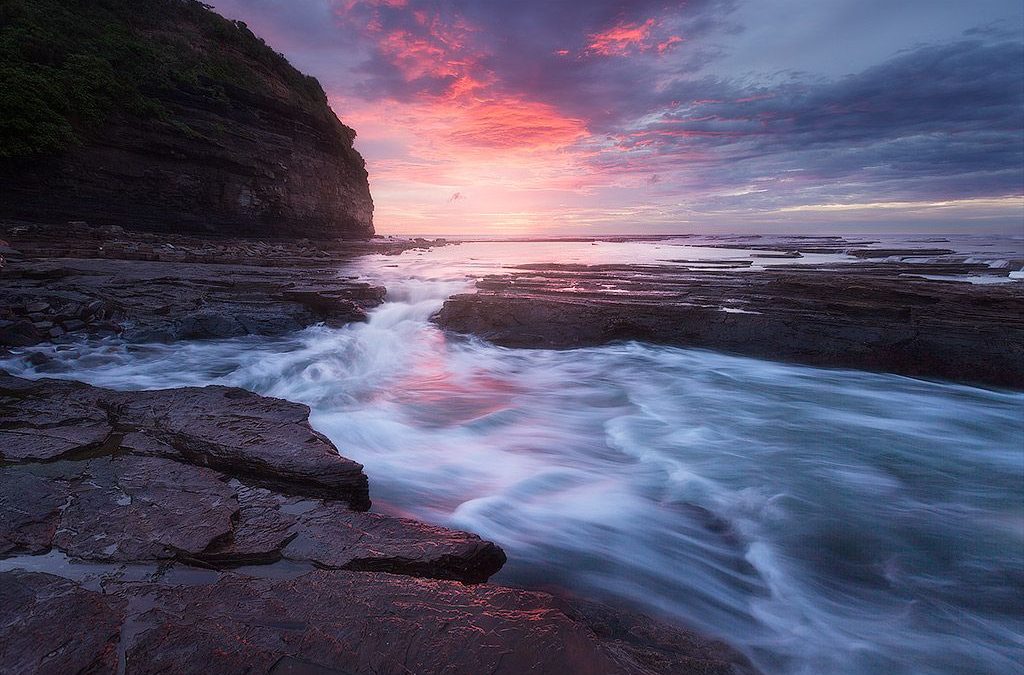
Here’s a shot I took in July at a spot just down the coast.
It required three separate exposures (for the sky, water and rocks) which I then blended together in Photoshop.
The reason it wasn’t just two shots (one for sky and one for foreground) is the bright water and dark rocks in the foreground are intertwined.
Exposing specifically for the detail in the rocks meant the water completely blurred out and went virtually all-white due to the long exposure. It wasn’t necessarily overexposed, but all the detail was lost anyway thanks to the movement.
So here’s my rule of thumb for capturing this type of shot:
When shooting moving water up-close, a shutter speed of around half a second is just enough to give the water a soft silky look without losing too much detail (that’s what I used for the flowing water exposure in this image).
The further away you get from the moving water (whether it’s a waterfall, the ocean or any other moving water), the longer exposure you’ll need to use to get that same perceived movement.
Because it’s all about how quickly the water “paints itself” across your frame and the closer you are to the water, the quicker it will move across (assuming it’s moving at roughly the same speed in all cases).
So once I had my various exposures captured, it was just a case of assembling them using the techniques and workflow from my Luminosity Masking Mastery course to create what you see at the top of this blog post.
Talk soon,
Steve
FREE GUIDE: An Introduction To Luminosity Masking

Download the FREE PDF Guide Now so you can instantly see the difference that Luminosity Masking will make to your Landscape photos.
Just enter your FIRST NAME and your PRIMARY EMAIL Address below to subscribe to our emails so we can send you the download link: